Windows
Jump to:
How can we help?
Connect to Wireless (Windows 10)
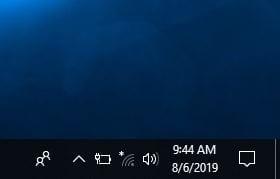
- From the Windows 10 desktop, click the wireless icon in the system tray (in the bottom right hand corner of the screen).
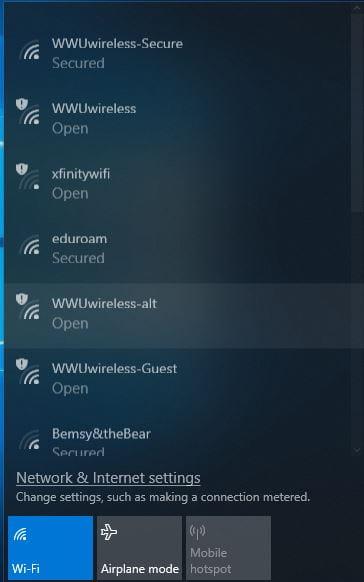
- A bar will appear on the right. Click on "WWUwireless-Secure".
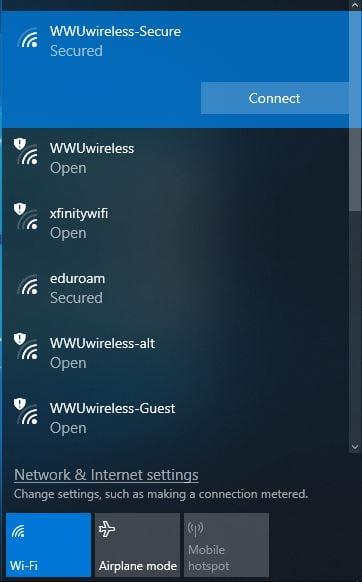
- Click Connect.
- It will prompt you for a Username and Password. Enter your WWU Universal ID and password, then click OK.
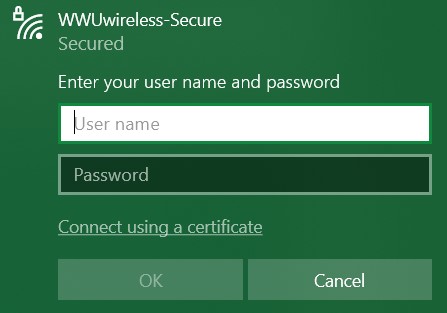
- You will be asked to verify the connection, click Connect. Your computer will verify your credentials and connect. This may take a moment.
- If successful, you should now see that you are connected.
Troubleshooting
The following methods may aid in getting you connected if you run into any problems. If you haven't already, make sure to Forget the Network if you have previously connected to the "WWUwireless-Secure" network.
- When typing your Universal ID/Username, try typing your ID with the email handle (@wwu.edu), then connect to the network. If that didn't work, try it without the email handle.
- Configure your Window's network settings to make sure it is set to automatically obtain an IP address from the network.
- Change/reset your Western account's universal password, then attempt to reconnect using your new password.
- For assistance with other versions of Windows, you may send a help request.
Configure Network Settings
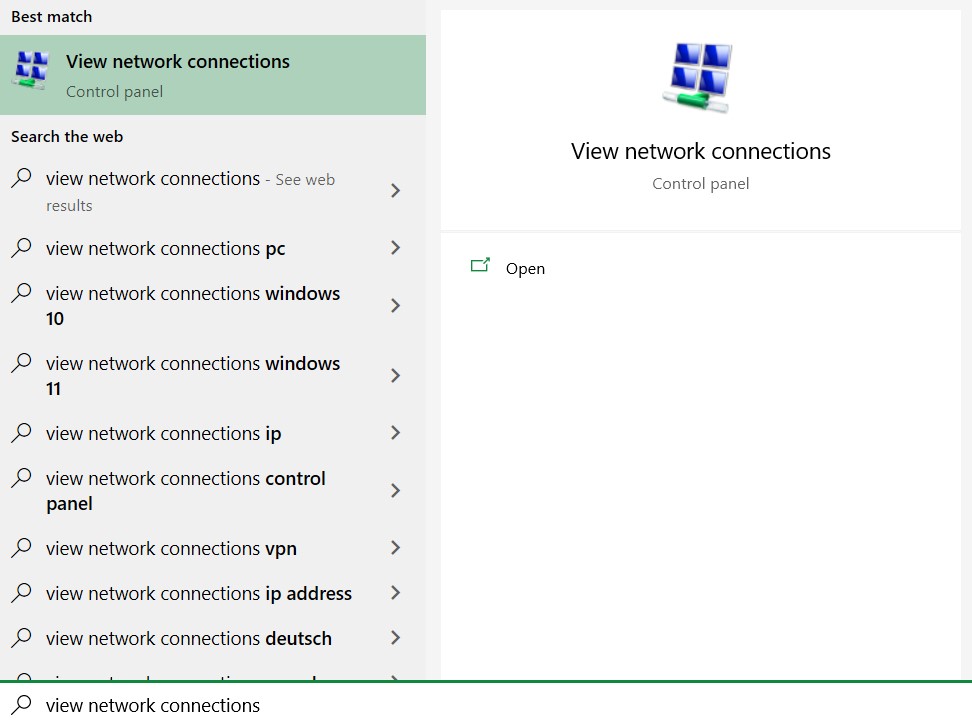
Search for View network connections in the Windows start menu and click on it.
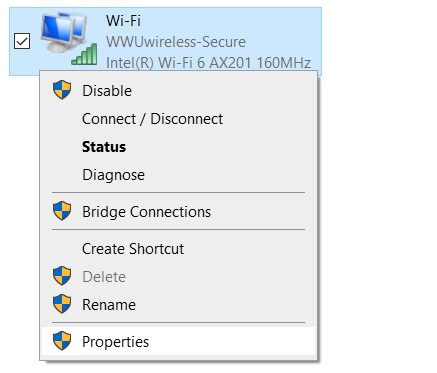
- Look for a connection/adapter that says Wi-Fi or Local Area Connection and make sure it is enabled (not grayed out).
Right click on that connection/adapter and select Properties.
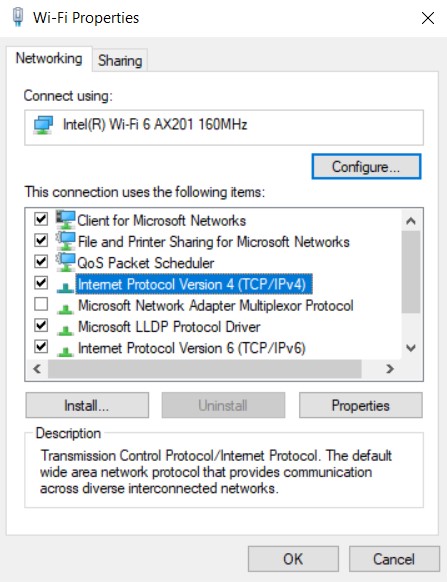
Highlight "Internet Protocol (TCP/IPv4)" and click Properties.
Check that both "Obtain an IP address automatically" and "Obtain DNS server address automatically" are selected.
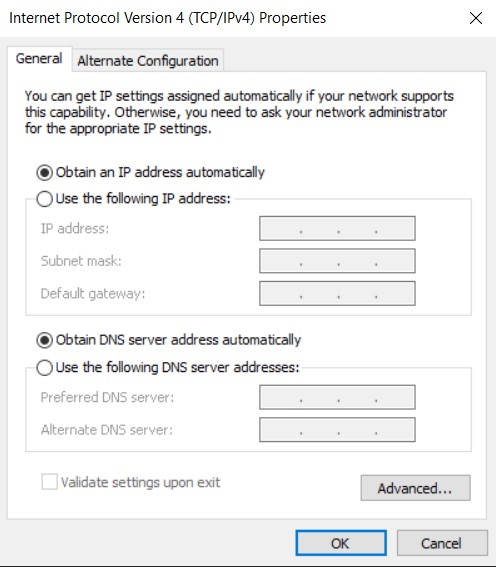
- Press OK to save settings and exit the TCP/IP Properties window.
- Click OK to close Local Area Connection Properties window. Open a web browser to check your connection.